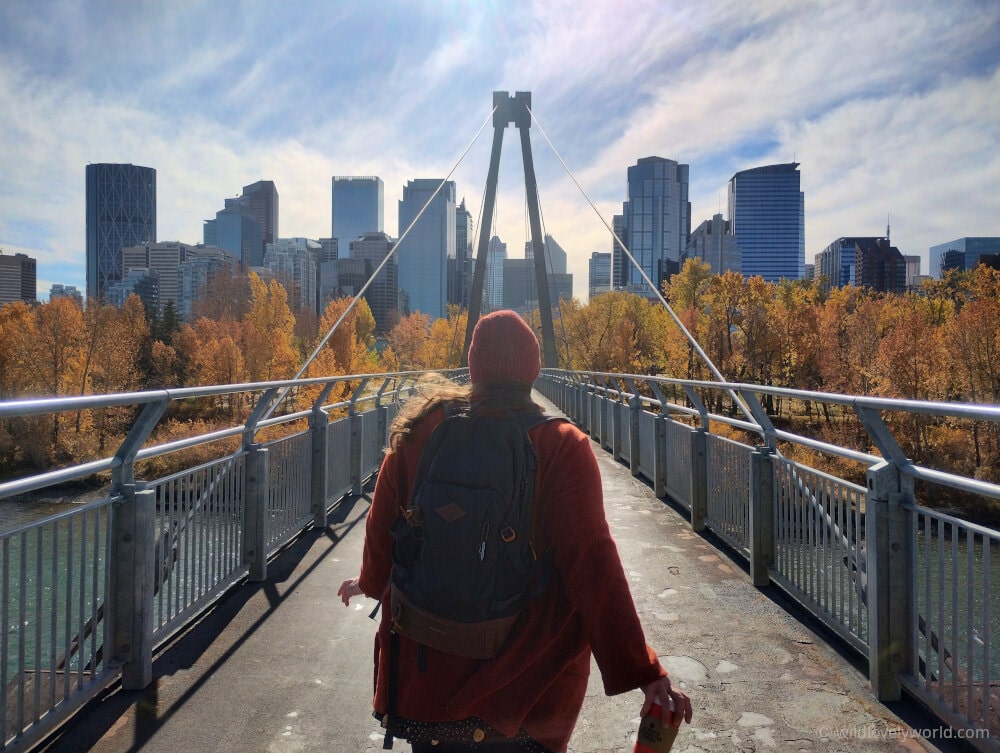
IEC Arrival Experience – Moving To Canada From UK (Work Permit)
Updated: 22nd February 2026 By Lauren
Home » Blog » North America » Canada »Moving to a new country is both exciting and overwhelming – my arrival experience in Canada on the International Experience Canada (IEC) work permit program was exactly this for me. There are many practical tasks involved in migrating to a new country.
The adventure of moving isn’t just about exploring a new place, but also the tasks to setup for your new life – travel arrangements and insurance, finding accommodation, getting a phone plan, opening a bank account, enrolling in the healthcare system, swapping driving licences, applying for jobs… There’s a lot on the to do list in the first few days, weeks and months of migration.
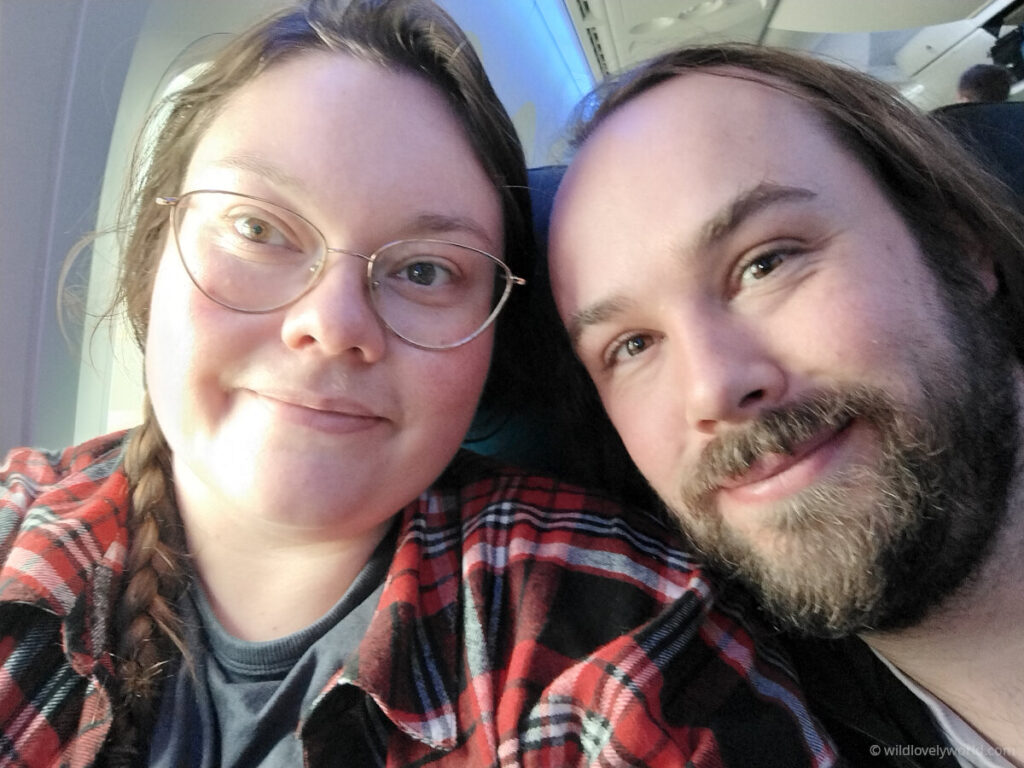
If you’re moving to Canada on the International Experience Canada (IEC) work permit visa and looking for an idea of what the arrival experience is like, in this post I explain the process of tackling these essential first tasks as I share our arrival experience of moving to Canada from the UK/Ireland. Me and my husband Fiachra arrived in Canada on our International Experience Canada Work Permits in October 2024.
By the end of the article you will have a realistic idea of what to expect and help your move to Canada on IEC be smoother.
IEC Arrival Experience (UK/Ireland To Canada) 🇬🇧 ➡️ 🇨🇦
- Discover all my Canada blog posts 🍁
Flights ✈️
Date Of Travel: Early October 2024
Journey: Liverpool, England > Cork, Ireland > Calgary, Alberta, Canada > Waterloo, Ontario, Canada

Liverpool, UK to Cork, Ireland 🇬🇧➡️🇮🇪
First we flew from the UK to Ireland. We took the train/bus to Liverpool John Lennon Airport and flew with Ryanair to Cork.
The journey to the airport was pretty stressful because it wasn’t until we got on the train that we realised the tickets we had bought in advance were for the wrong date! We were stressed the whole journey to the airport, but luckily the train conductor was very friendly and understanding of our mistake, and we just paid for another ticket while on the train.
The flight departed in September 2024 and we booked the tickets approx 1 week before the departure date.
The cost for 2 adults with a carry on and 2 x 20kg checked bags each cost GBP £178.94 total.
Fiachra’s parents picked us up and we spent time with family and enjoying the end of the Irish summer before heading onto Canada.
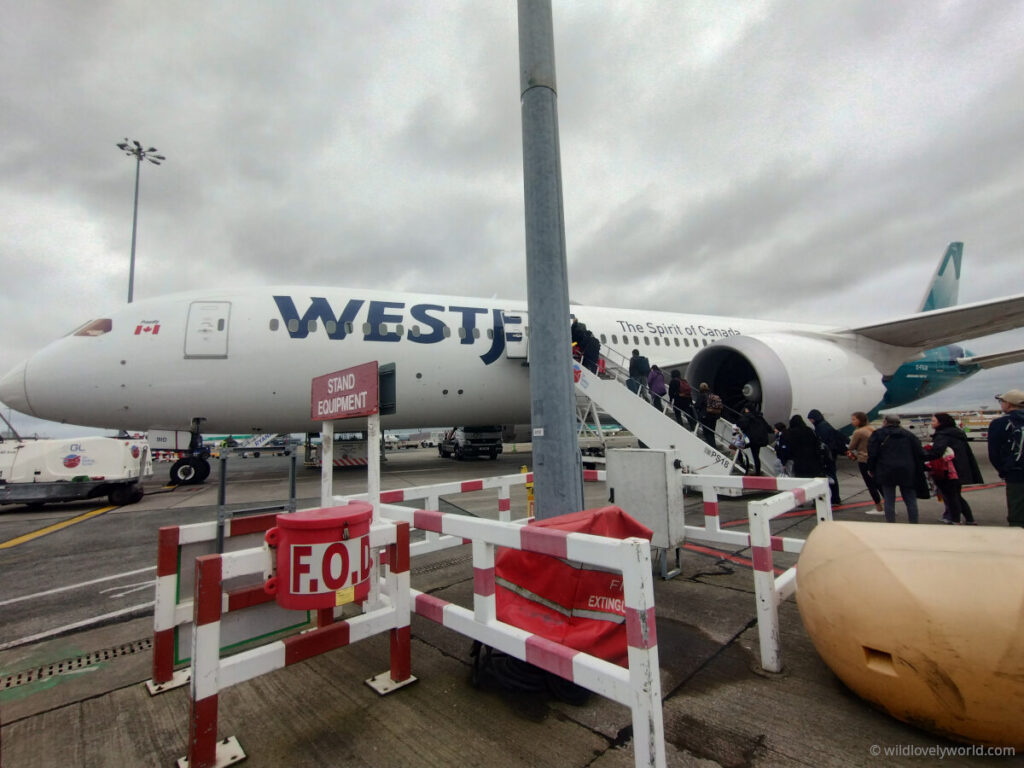
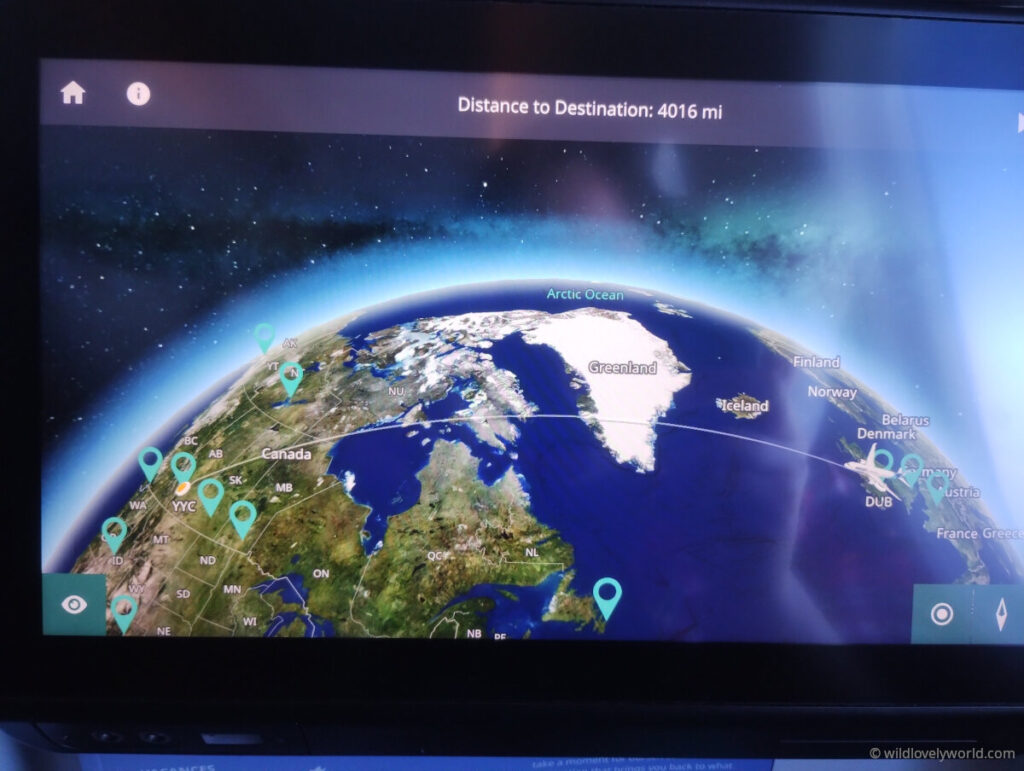
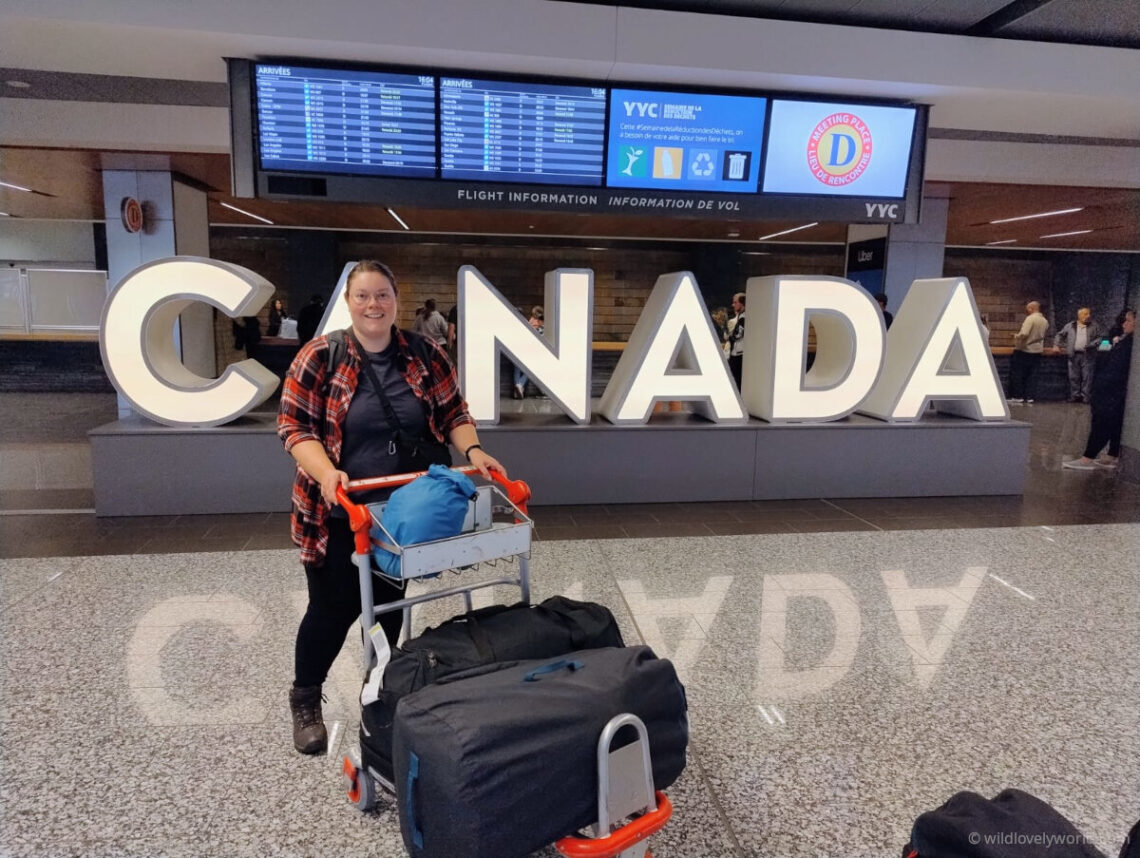
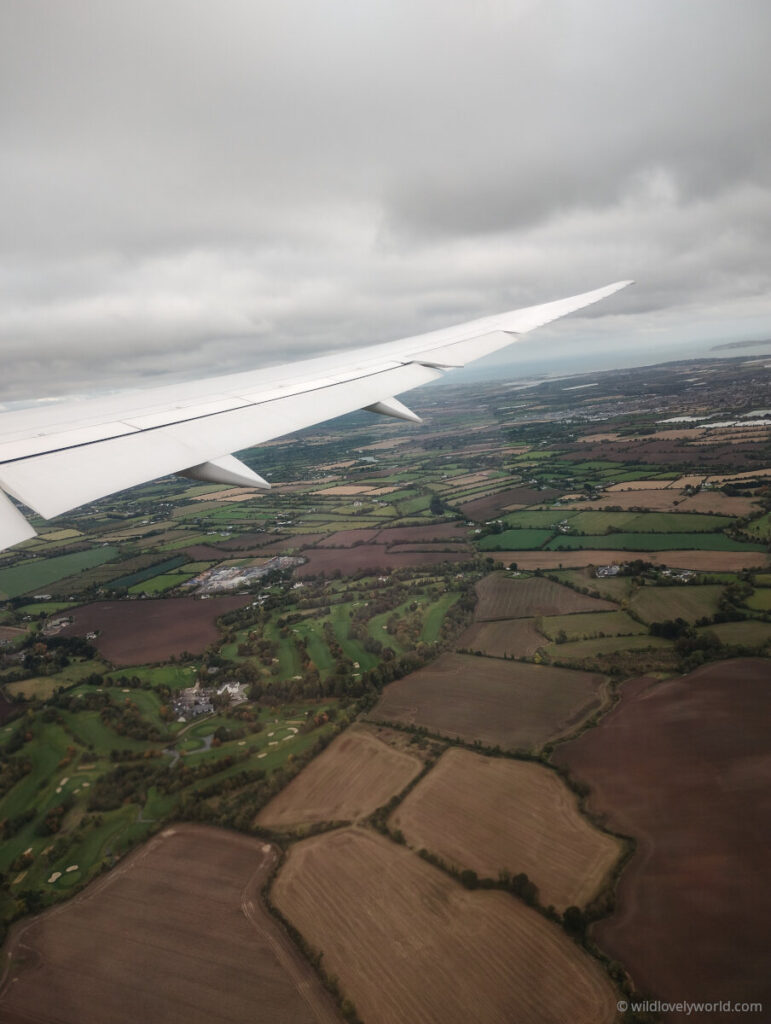
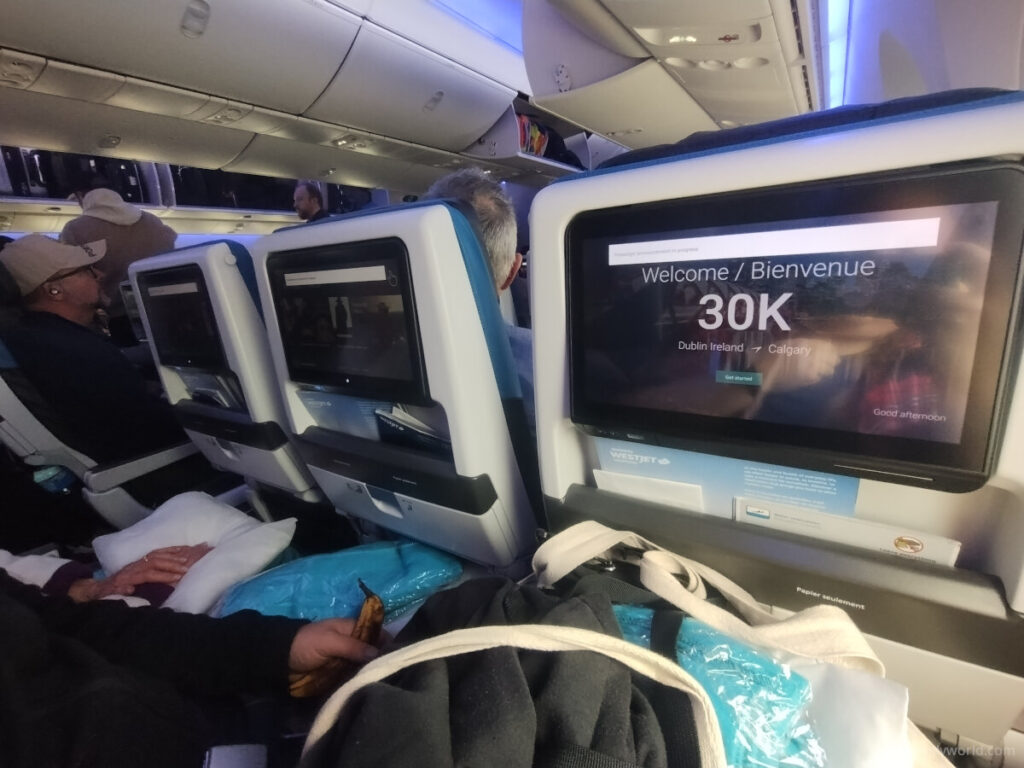
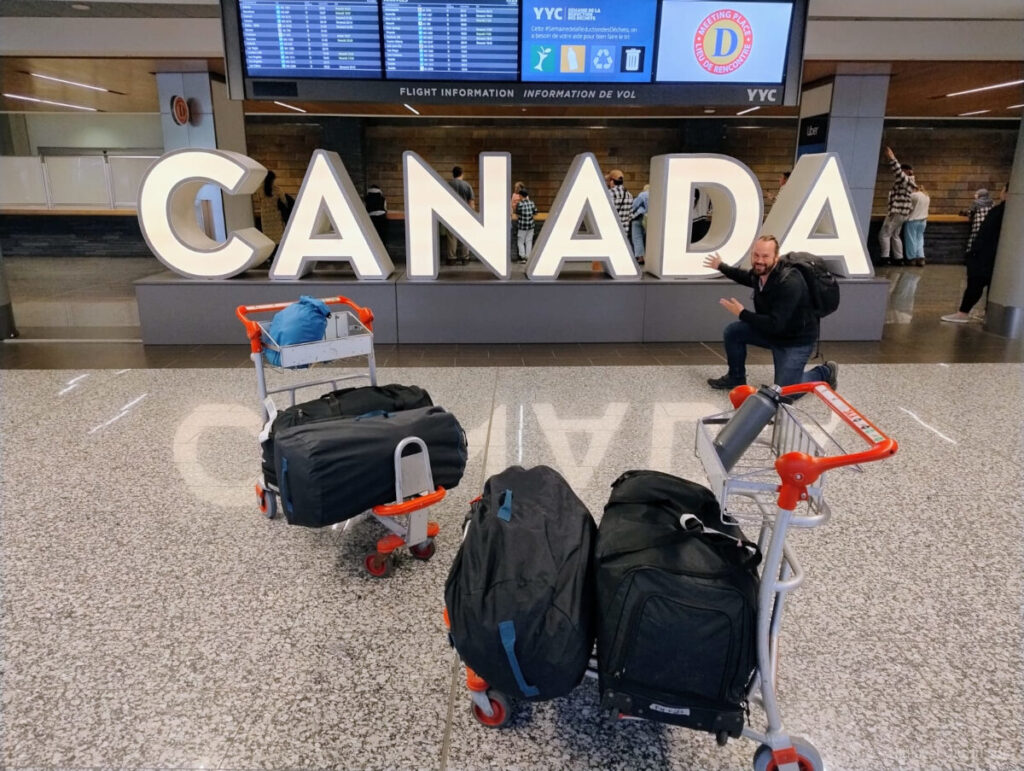
Dublin, Ireland To Calgary, Canada 🇮🇪➡️🇨🇦
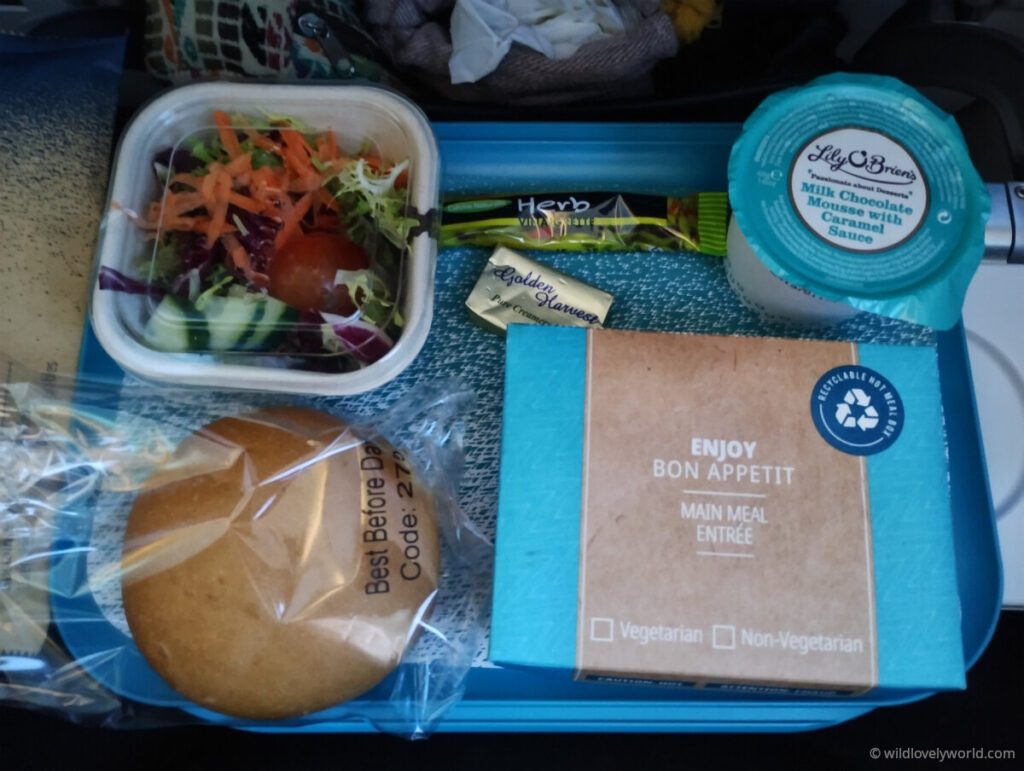
We flew from Dublin to Calgary with WestJet, in October 2024. Fiachra’s parents dropped us off at the airport. The flight left at 12:55 and was 8h 25m duration, so arrived at 14:20 same day (travelling into the past time wise).
We got Economy tickets which included a carry-on baggage and 1 piece of checked baggage up to 23kg per person. The flight ticket cost GBP £300.80 per person, so GBP £601.60 total.
Two days before the flight we bought additional checked baggage for another 2 x 23kg checked bags for CAD $210 (converted to GBP by credit card at CAD at 1.77 = GBP £118.54 total).
We bought the flights in June 2024, so approx 4 months before the departure date in October 2024.
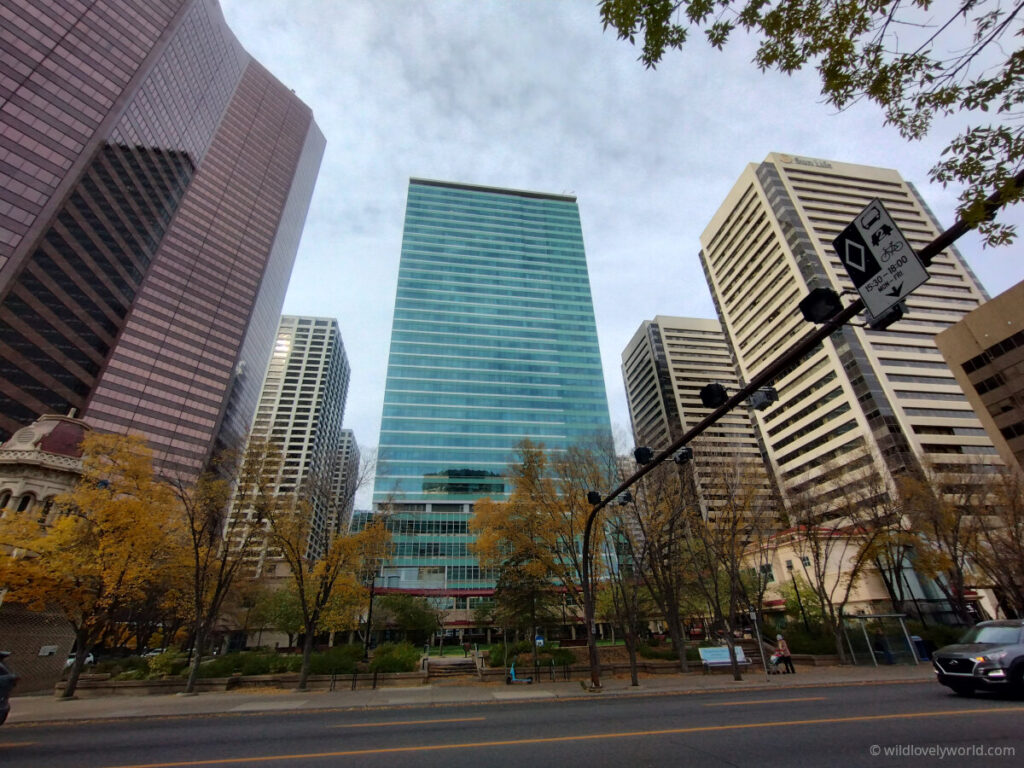
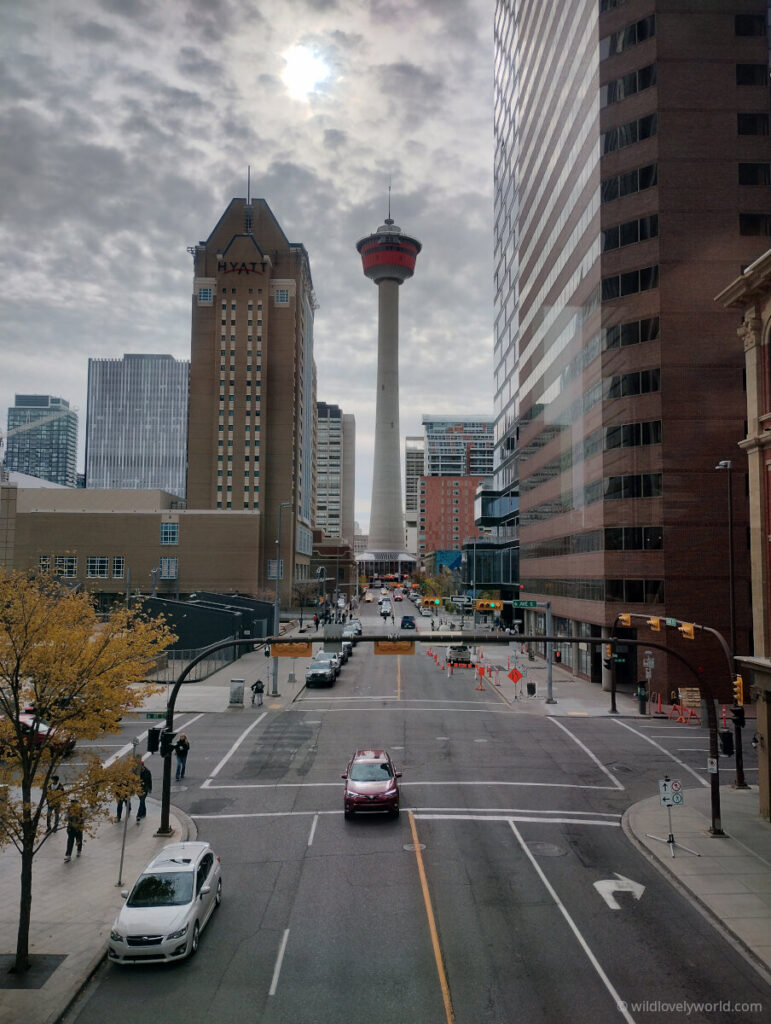
To get to/from Calgary airport we used public transport. The Route 300 public Calgary transit bus runs from the airport to Calgary downtown. The buses run approx every 30 minutes. To pay for tickets we downloaded the MyFare app. Tickets cost around CAD $4, valid for 90 minutes.
Calgary, Alberta To Waterloo, Ontario 🇨🇦
Our plan was to stay in Alberta/British Columbia, but we had a change of plan when in August 2024 we were offered and accepted a 6-month house-sit in Ontario for the winter from October to April.
As we had already organised our flights to Calgary and had two house-sits already lined up there, we went to Calgary and then had to book additional flights to Ontario from there.
We got Economy tickets with Flair, a budget airline in Canada.
The flight tickets cost CAD $566.01 (converted to GBP by credit card at CAD at 1.78 = GBP £316.42).
We booked the Flair flights on October 12, after we had arrived in Canada.
The flight departed 1:15pm and arrived 7pm, with an approx 3h 45m duration, in late October 2024. We flew to the regional airport of Waterloo.
It did feel a little silly to travel to Alberta, essentially flying over Ontario, only to travel back there around 2 weeks later. But we did have a wonderful time in Calgary, visited Banff and did the Johnston Canyon walk, and already had two housesits lined up in Calgary for our arrival so we went ahead with travelling there before moving onto Ontario.
Total Flight Costs 💲
Overall our flight costs as a couple travelling together were:
- £178.94 Liverpool, UK to Cork, Ireland with RyanAir
- £720.14 Dublin, Ireland to Calgary, Alberta with WestJet
- £316.42 Calgary, Alberta to Waterloo, Ontario with Flair Airlines
- Total: GBP £1215.50 (£607.75 per person)

ArriveCan Declaration 🛃
The ArriveCAN app can be used before you fly into Canada and is an advance customs and immigration declaration.
It will save you a little bit of time at the airport. I don’t think it saved us that much time but it was worth doing anyway just in case as we weren’t sure what the arrival process would be like.
We downloaded the ArriveCan app before departing Ireland.
The declaration was straightforward using the app. It can be submitted 72 hrs prior to arriving in Canada and all that is required is to confirm your passport information and answer the customs and immigration questions.
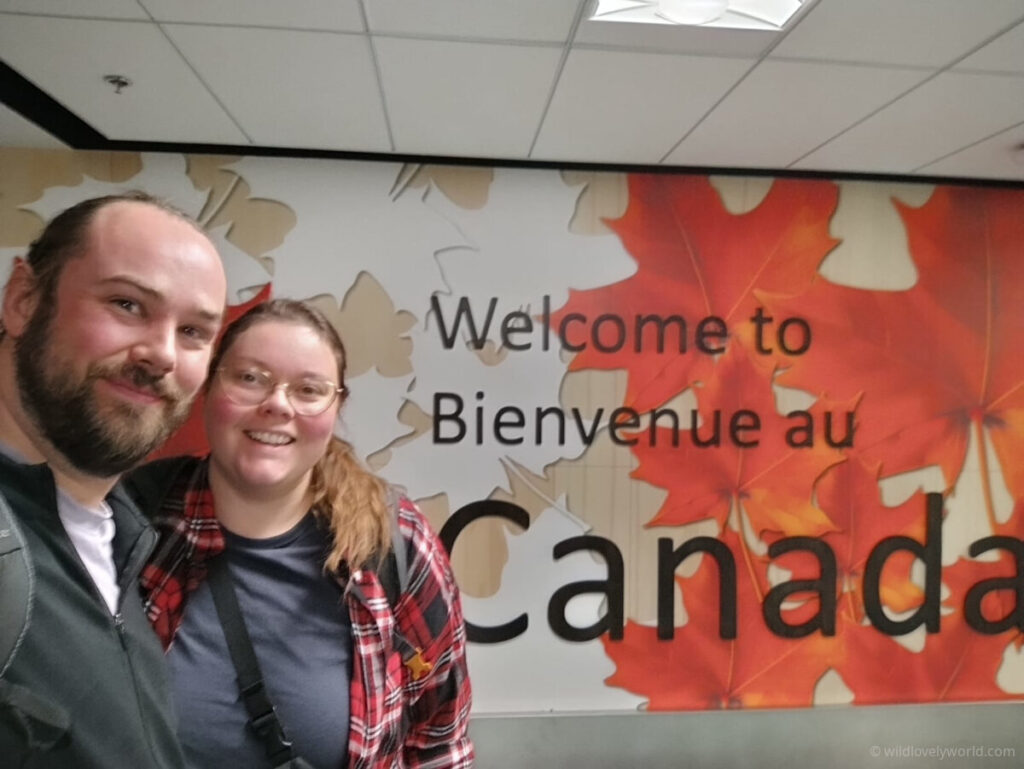
Once we arrived at Calgary airport we still needed to go to the kiosk to scan our passports and answer some additional questions on the screen. A receipt was printed and we took this with our passports to show the border officer.
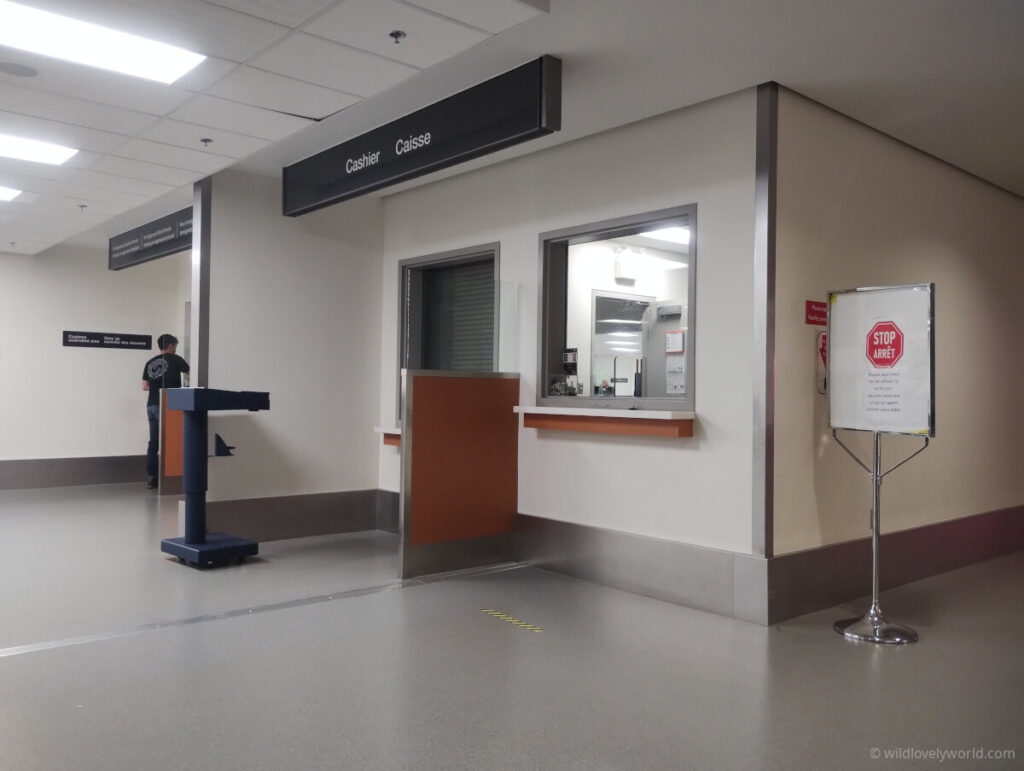
Immigration/Work Permit 🛂
After going through passport control we headed to the baggage claim to collect our luggage. Everything arrived safely. We popped our bags on a trolley and headed to the immigration office to collect our work permits.
We were given directions to the office by a member of staff in the airport. I believe it was called ‘E’. Once we arrived at the office, we entered the waiting area taking a numbered ticket from the machine. We only took one ticket for both of us.
There were quite a few people waiting in the room already so we knew it would be a while. In the end, we had to wait around 1 hour before we could be seen by an officer.
We had to leave our baggage on the trolley outside of the waiting area, but they had a small ‘parking area’ for them and we could see them through the glass wall/windows.
Once the number was called we headed to the desk. We could be seen together as a couple.
Activating IEC Work Permit Document Checklist
In preparation for picking up our work permits, I prepared myself and Fiachra a pack each with all of our printed documentation, organised and labelled clearly with sticky tabs. Documents I included in the pack were:
- Port of Entry Letter
- Proof of health insurance (needs to be valid for the full of length of stay – in my case, 2 years): Travel Insurance Validation Certificate, Schedule of Cover, receipt/email of purchase, insurance product information and details on how to make a claim
- Proof of funds of at least CAD $2500: bank account statement
- Copies of all the documents provided with my work permit application:
- Biometrics instruction letter, information of the appointment, and the receipts provided at the biometrics appointment
- CV (Canadian style CV with complete travel/education/employment history)
- Family Information form
- Police Certificates (I needed certificates from the UK, Australia, New Zealand, and Japan. Additionally I needed a Vic Roads driving history report as I lived in Victoria, Australia)
- SWAP RO Letter (as I applied via the Recognised Organisation route)
Collecting Our Work Permits
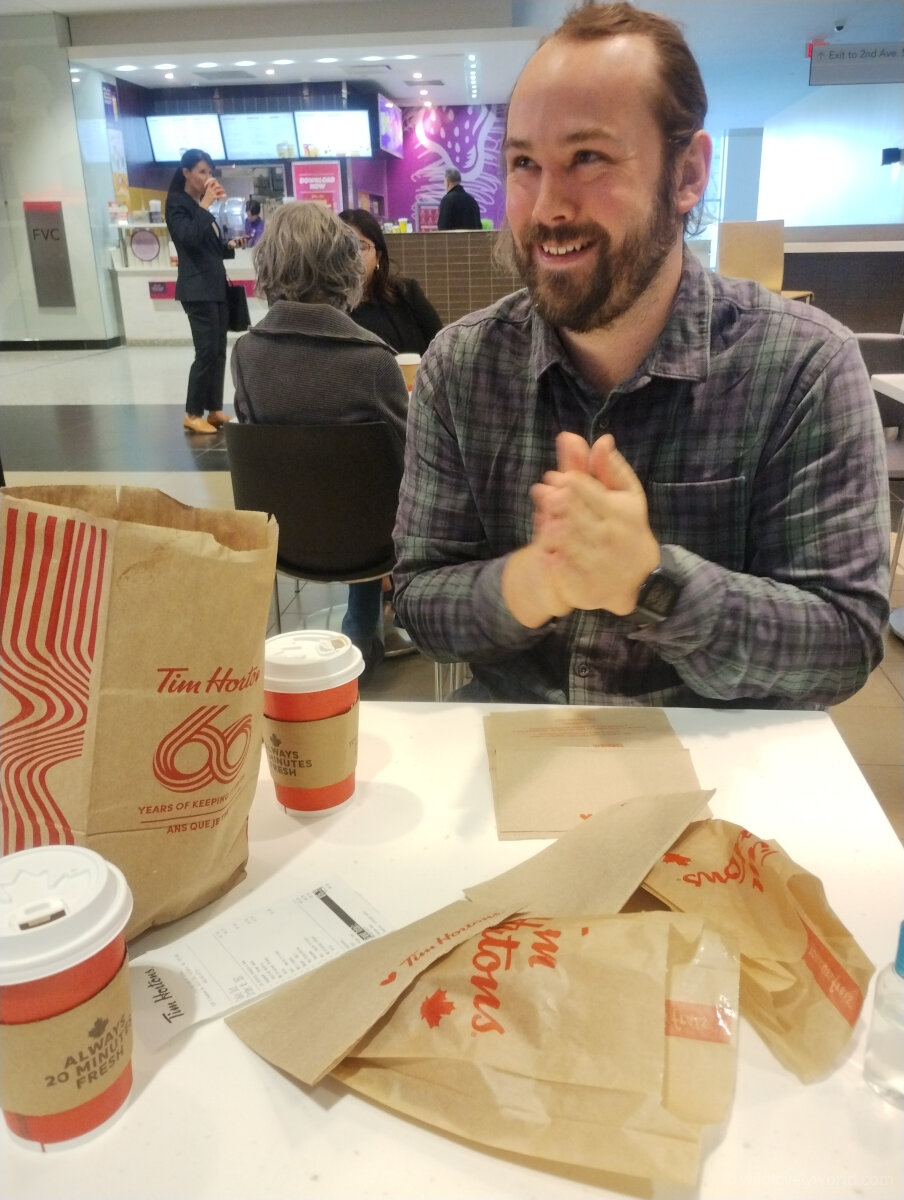
Despite my preparation, all of our documentation was not required at all! The immigration officer only wished to see our Port of Entry letter and our passports. We waited around 10 minutes while they took our documentation and returned with our printed Work Permits.
Once we had our Work Permits in hand, we double checked all of the information on the permit before leaving the desk/office. We also took photos of the work permits on our phone just in case. Make sure you do this too, because once you leave the office and discover a mistake, it is harder to correct. Additionally, if you lose the work permit, from what I read it is much easier to get a replacement if you have a photo of the original.
Our IEC Work Permits are open work permits and were issued for with a 2 year validity.
I found this checklist for arriving in Canada on the International Experience Canada Government of Canada website really helpful for my preparation for arrival and what to expect.

Insurance ❤️🩹
Travel insurance is compulsory for your IEC visa to Canada. It’s crucial to know that your Work permit will be issued for the same length of time as your insurance. That means if you are eligible for a 2 year Work Permit, get 2 years of insurance because if you don’t, you won’t get it.
I did a lot of research on the best travel insurance plans, looking at inclusions/exclusions, reviews and claim experiences should the need arise, and obtained many quotes.
After all the research we decided to go with Big Cat Travel Insurance. We had used them for travel insurance before, for our travels to the Cook Islands and Australia, so we were familiar with the company.
They are a UK based insurance provider and are underwritten by Allianz. Previously I had to claim on travel insurance while in New Zealand, and the policy we had at the time was with Allianz. The process to claim was very straightforward, easy and smooth, so I felt confident using a policy by Allinaz again.
We got 24 months / 2 years of insurance with Big Cat Travel Insurance.
We purchased the insurance in late August 2024 while we were living in the UK, so approx 1.5 months before we travelled to Canada in October 2024.
As we are travelling as a couple, we got the insurance together on the same plan. I put myself as the main traveller and my husband as the additional traveller. We chose the Single Trip Worldwide (inc USA, Canada & Mexico) Budget plan, with Baggage Cover and Excess Waiver as add ons. The start date of the insurance is the date we entered Canada.
For the both of us for the 2 years insurance, the price was GBP £1054.50. Yes, it is expensive. However, that is just over £500 each for two years of worldwide travel insurance, to a particularly expensive destination with expensive medical costs.

Phone Plan 📱
We got setup with phone plans from Rogers as soon as we landed at Calgary airport. Just outside the arrivals is a strategically placed Rogers booth ready to offer phone plans to newcomers entering Canada.
We were very sleepy at the time after our longer journey and not in a great frame of mind to make a decision. But after some quick research to compare phone plans online using the airports free WiFi, we found that the Rogers deal is one of the best phone plan deals available in Canada, and it’s only available to newcomers.
The Rogers phone plan offered was CAD $40 per month (plus tax) for 5G 100GB data, unlimited calls and texts, including to international destinations (UK is included but unfortunately Ireland is not).
The plan is very generous and I never reach 100GB data in a month as now I am using WiFi in accommodation most of the time, but for the price it really is a good deal and its nice to know I’ll never run out of data.
To sign up, we just needed to show the Rogers retail associate our Work Permit. For the billing address, they set it to the Rogers store.
Both Fiachra and I have dual SIM phones, which means we can have 2 SIM cards installed. So, we have our UK SIMs on our phones as well as the Rogers SIM.
Rogers have an app you can view your plan details and usage. The phone bill is sent each month by email/via the app and payment is paid on auto-pay with my linked credit card.
We have stuck with the phone plan since we arrived in Canada and not changed, mostly for convenience.
After 1 year of having the phone plan, Rogers increased the monthly charge to CAD $45 per month (plus tax).
Accommodation 🏠
Housesitting In Calgary For 2 Weeks
For our stay in Calgary, we had two housesits lined up via Trusted Housesitters for approx 2 weeks total.
The dates of our housesits lined up perfectly because we had them back-to-back and they were in the same neighbourhood just a few blocks apart.
For both housesits we were housesitting dogs and one of the housesits also had a cat.
We really enjoyed the neighbourhood (Killarney) and took lots of walks around the blocks.
Additionally, one of the homeowners let us borrow their car, so we took a day trip to Banff and walked the Johnston Canyon Trail. Of course, we took the dog with us and they loved it!
It was really nice to take time to experience living in Calgary. I liked it very much for thought it’d be a great place to spend longer.
I particularly enjoyed the blue skies which we had every single day!
The only thing that cause an issue for me was the elevation of Calgary. The city is over 1,000m above sea level and the air was very dry. This was triggering my asthma which wasn’t fun! But it could be managed with my inhalers. I am sure over time it is something people get used to.
- Get 25% off Trusted Housesitters membership via this link with code: WLW25


Coast Calgary Downtown Hotel & Suites (Short Review)
We only needed 1 night in a hotel either side of our housesits in Calgary – the night we arrived in Calgary and the night before we departed to fly to Ontario.
Before/after the housesits we stayed at the Coast Calgary Downtown Hotel & Suites.
For our first stay we stayed in a One Bedroom King Studio. The suite had a king bed, desk, full kitchener and lounge area. It cost CAD $160.77 for 1 night in October 2024.
We booked in September approx 3 weeks before our stay and I booked directly to get the best deal, but they are listed on Booking.
For our second stay we booked the One Bedroom Queen Suite which was very similar to the studio, and cost CAD $174.91 for 1 night. Again, I booked directly with the hotel.
Both of the rooms were really similar in layout/facilities and from memory I honestly don’t remember a difference between the two.
Overall I was pleased with the facilities and quality of the rooms.
The staff were really friendly and the location was excellent – right in Calgary downtown, walkable to everything and importantly just down the road from the bus stop on the airport route.
The price point was also very good with the facilities offered in the room including a full kitchen.
I would recommend the hotel and personally I would stay there again.

Housesitting In Ontario For 6 Months
In Ontario, we had another housesit lined up from October 2024. We arranged this via the platform Housesitters Canada.
The homeowner contacted us directly in August 2024 to offer us the house-sit, so we had the arrangement planned approx 3 months in advance.
The homeowners were kind enough to let us stay with them for a few days before they departed, so that we could get settled in, had a tour around town, and went through the instructions for the housesit and pet care.
The housesit was in Waterloo region and was for 6-months from October to April!
- Housesitters Canada is the largest housesitting website for Canada and one of my top recommendations for the best housesitting websites
Having free accommodation sorted for 6-months was really a godsend, especially as we had no job prospects lined up for when we arrived in Canada.
We were not sure how easily or quickly it would be for us to get jobs, so having a roof over our heads and not worrying how we were going to pay for it was a weight off our shoulders.
In hindsight it was really lucky we had the housesit as it was a challenge to get jobs! I’ll talk more about getting a job later on in this post.
Social Insurance Number (SIN)
While we were in Calgary, we applied for our SIN numbers online. Our applications were processed in around 1 working day. The process was easy and fast. Once issued, I could view the SIN online immediately via setting up an account on My Service Canada.
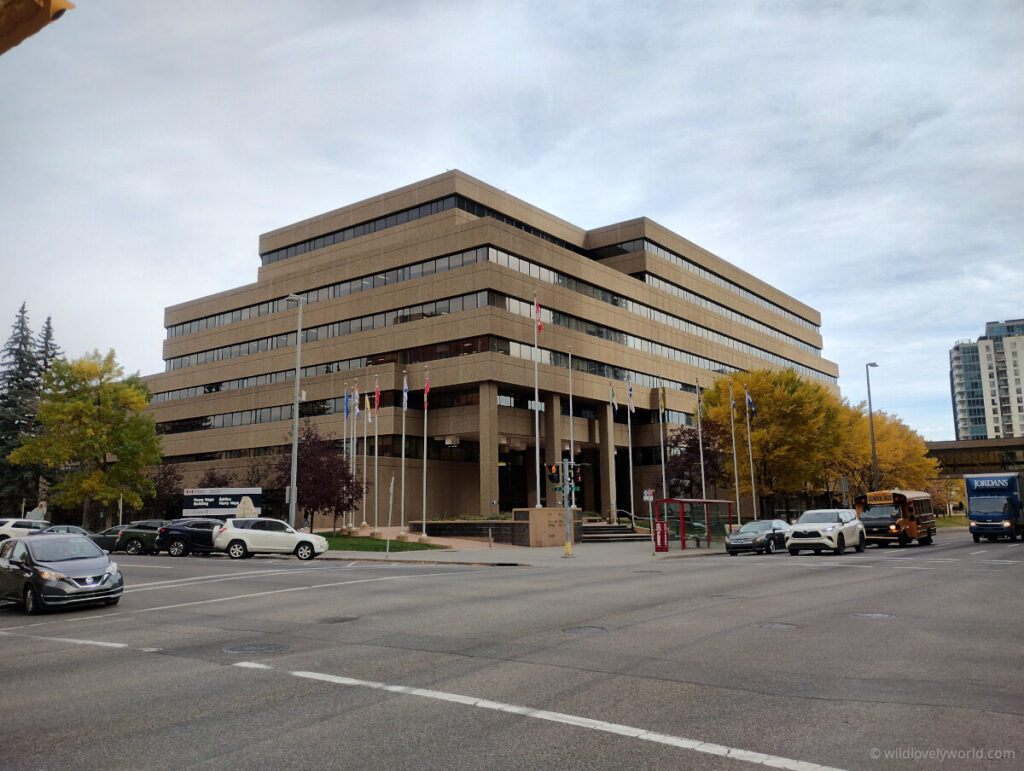
The reason we applied online was because it is a much more efficient process than visiting the Service Canada Centre. The next day after we arrived in Canada, we went to the Service Canada Centre in downtown Calgary. Unfortunately, there was a huge line out the door and a full waiting room.The staff advised us that it would be a 3 hour wait! I was shocked and I didn’t want to waste my time sitting in a queue all day when I could be out exploring or getting my other important arrival errands done!
If you don’t want to waste time in a queue at Service Canada, then I highly recommend applying for a SIN online! After going through the process myself, I can assure you it is a very fast and easy process, and I think more IEC partcipants should apply for a SIN online. Your time is too precious to be waiting at Service Canada!
You can read more about our experience getting our SIN numbers and the process to apply for a SIN online in this dedicated blog post.


Bank Account 🏦
Checking Accounts 💵
In Calgary we made an appointment with CIBC to open bank accounts. To make the appointment we walked into a branch and they could make the appointment for us for the next day.
For the appointment we took all our documentation including passports and Work Permits.
CIBC Newcomer Checking Account (Zero Fees)
At the appointment we opened checking accounts (CIBC Newcomer Account) and were given Visa debit cards immediately. The clerk was very helpful and assisted us with downloading and navigating the CIBC app and activating our debit cards and setting a PIN on the ATM machine at the bank.
Banks in Canada like to charge fees for everything, including just for having a bank account and using it to make/receive payments. Luckily as a newcomer to Canada CIBC has an offer which provides 2 years zero account fees and transaction fees.
The deal also includes bonus payments for completing certain tasks like referring friends, having your paycheck paid into the account and making a certain number of transactions (to earn these payments the criteria is very confusing and I have no idea how I did it but after a few months in Canada I earned a CAD $500 cash payment somehow, however Fiachra didn’t).
Wise Money Transfer 💱
We transferred a small amount of money from the UK to our Canadian bank accounts using Wise. This initial transfer was the only one needed as we had minimal expenses and soon we were earning money in Ontario to cover costs. Wise is a cost-effective way to transfer money between countries/currencies.
Credit Cards 💳
We quickly learned that having a credit card is pretty much essential for daily life in Canada. The majority of businesses expect payment via credit card (rather than debit), even for everyday purchases. For travel a credit card is a necessity for example to put a deposit on a car rental or hotel room.
We planned to get credit cards the same as our checking accounts but unfortunately there was an error/technical issue at CIBC that prevented us from applying for the credit card in the same appointment. So we had to make another appointment for the credit card application. We didn’t have time to do this in Calgary so we waited until we went to Ontario.
In the meantime I was using my UK credit card (Halifax Clarity) for most of our purchases which offers good exchange rates and no fees for international transactions. Plus once we had the debit cards we could use those for small transactions.
Applying For A Credit Card Took Longer Than Expected
Once we got to Ontario we made an appointment to visit a local CIBC branch.
Unfortunately the clerk was experiencing the same errors with our credit card applications. He said this had happened a lot recently for newcomers to Canada from the UK/Ireland.
I am not sure exactly the issue but we had to wait several weeks for it to be resolved while the bank clerk worked diligently on getting us approved for the credit cards.
Thankfully the clerk worked diligently to get the issues resolved and kept us updated via email/phone over the several weeks it took to resolve.
CIBC Dividend Visa Credit Card
Now we have our cards and we use them for all of our purchases. Auto-pay is setup to pay off in full every month from our linked checking accounts.
Our credit cards earn cashback of 1-2% which can be redeemed to reduce the credit card balance.
Initially our credit limits were only CAD $1000 as newcomers with no credit scores.
After 6 months we could apply for a credit limit increase which was improved.
CIBC informed me if you need more credit in the meantime to just transfer money to the credit card from my checking account to reduce the balance and free up credit.
Savings Account 💰
With a CIBC Checking account you can also open a linked Savings account which I did once I started earning Canadian dollars.
The interest on the savings account is dismal (starting from 0.20%) but it is something.
Every week on payday I transfer money to the savings account.
Driving Licence 🚗
I have a full UK driving licence and it is simple to change it to a full Canadian driving licence (they call this a G licence).
To do this, I made an appointment at a Drive Test centre in Ontario. Thankfully they are open on the weekend so I could go on a Saturday morning.
Once I arrived at the Drive Test centre it was very busy and knew despite having my appointment time I would have to wait. I waited for an additional 30 minutes and then was called to the desk to see a clerk.
I had all of my documentation prepared to ensure a seamless exchange.
- Passport
- UK driving licence
- Driving abstract (downloaded from the DVLA website)
Converting My UK Drivers Licence To A Canadian Drivers Licence
The whole process at Drive Test did not take any longer than 15 minutes.
The clerk reviewed my documents and completed the paperwork forms.
My photo was taken for the driving licence card.
Additionally I had to do a quick test where I looked through a device and identify which side the flashing colored dots were on.
The fee to exchange my licence was CAD $90 plus tax (13%) and the licence is valid for 5 years.
I left with a temporary paper licence and my physical Canadian driving licence arrived at my mailing address within a couple of weeks.
Unfortunately due to Canadian rules they do not allow you to keep your original driving licence. I had to forfeit it to the clerk who said they will either send it back to the DVLA in the UK or confidentially dispose of it. A bit of an annoying system but necessary to get a local licence. My tip is to take a photo of the front and back of your UK driving licence before handing it over, as you can reapply for one from the DVLA using the information on the card.

ID Photo Card 🪪
Fiachra doesn’t have a drivers licence but having a piece of Canadian ID is really useful for ID purposes. Ontario offers the Ontario Photo Card which is a provincial issued photo ID for Ontario residents that don’t have a drivers licence.
The card can be applied for in person at a Service Ontario centre using a passport. They take your photo for the card at the centre when doing your application.
The fee was CAD $35 and it is valid for 5 years.
The card is sent to a mailing address and takes a few weeks to arrive.
Health Card 🏥
As a resident in Ontario I am entitled to get a Health Card which means I can benefit from provincial funded health programs and services (Ontario Health Insurance Plan – OHIP).
The process to apply for a Health Card is relatively straightforward but it does require gathering quite a few pieces of documentation.
How To Get A Letter From Your Employer 📝
In order to apply, you do need to be employed in Ontario and be working full-time. You also need to be permanently employed or have a contact that is a minimum of 6-months.
Once you have a job in Ontario, you can get a letter from your employer stating this information. When asking your employer for the letter, make sure the letter meets the following criteria:
“ServiceOntario Open Work Permit Employment Letter Guidelines
The letter must be:
- On the employer’s company letterhead
- Signed and dated by the employer in pen
The letter must state:
- That the employee is working full-time
- The title/occupation of the position
- That the employee will be working for the company within Ontario (the company does not have to be located in Ontario. The letter may have the address or city where the employee will be working in Ontario)
- The start date of employment
- That the employer intends to employ the employee for a minimum of six (6) months
The letter should not be:
- An employment acceptance or offer letter
- A photocopy, scan, email or fax”
I sent an email to the HR department at my job with this information and they provided the letter within a day or so as a paper copy and they also emailed a copy to me as well for my records.
Once you have this employment letter, the other documentation is easy.
Documentation Required To Get A Health Card 📑
The full list of documents required to get an Ontario Health Card is as follows:
- Work permit and proof of full-time employment in Ontario Letter – process described above
- Proof of residency in Ontario – I used a payslip from my job which had my address on, you could also use any official document with your address including a phone bill or bank account statement
- Proof of identity – I used my passport
- Completed application form (Registration for Ontario Health Insurance Coverage form found at this link)
How To Apply For OHIP ⚕️
To apply for the Health Card, I went to the Service Ontario centre and applied in person.
I wasn’t able to make an appointment but I didn’t have to wait long to see someone.
Once I was with the clerk, they reviewed my documents and completed the paperwork. They also took photocopies of all the documents. They took my photo.
At the end, they provided me with an application receipt and informed me the Health Card would arrive by Canada Post within 4 weeks.
The Ontario OHIP Health Card is free.
More information on how to apply for OHIP and getting a health card is available on Service Ontario’s website.

Jobs 👩🏻💻💼🔎
As soon as we landed in Ontario and settled into our house-sit, we both started applying for work.
We reformatted and edited our CVs to be more “Canadian” – I used this blog post on Moving2Canada for tips on how to do this. I also gave my LinkedIn profile a refresh.
To look for work, I was mainly using Indeed, GlassDoor, Workopolis and LinkedIn to search for jobs. I also used the Canada Job Bank, but didn’t have any success there. I found LinkedIn to be the most useful. Indeed has a lot of postings, but a lot of them are out of date. LinkedIn’s postings seemed to be the most up-to-date. I also applied directly to businesses websites via their career pages.
Networking and getting referrals from others is a big way employers seem to hire in Canada. So I got a couple of tips from people I had met about places that were hiring, but didn’t have success with any of the leads.
Applying for jobs is a tedious process, and I must have applied for hundreds over a few weeks. I had a few follow-ups to do things like assessments and even a self-interview by recording answers to questions via video.
It can be quite demoralising to not receive any call backs either, even rejections emails, and just get ghosted. Unfortunately it is quite common these days.
I applied mostly for customer service roles – everything that was advertised. I even applied for hospitality roles like Starbucks but I didn’t hear back.
Lauren Became Successfully Employed In Canada Within 2 Months!
Finally, after a few weeks I got two in-person interviews in the same week in mid-November 2024.
One was for a hotel front desk agent at a local luxury property. I was successful at the interview and offered a permanent role. It took around 3 weeks for them to be ready for me to start, so I ended up starting the job in early December 2024.
The second interview was for a customer service representative for a government organisation. I actually ended up getting this role too, but I wasn’t informed until January that I was successful, with a February start date. I was really enjoying my time at the hotel so I was hesitant to leave so soon, but the pay offer was much better at the new role so I decided to accept. I’ve been in this role since February 2025.
I feel like my experience was very lucky, but honestly I have never found it too challenging to find work. My success could be attributed to the fact that at times I can be a very determined person, and I am not easily defeated by rejection. I just accept it and move on.
Fiachra Was Unemployed For 6 Months, Until A Spring Opportunity
On the other hand, Fiachra’s journey to get employment was very different. Fiachra was also applying for roles via websites like Indeed and LinkedIn.
After a few weeks with no success, Fiachra had a couple of days where he walked around the local malls and handed out CVs in person and spoke to managers at businesses about them hiring. He got a couple of call backs but nothing that led to a role.
It was very frustrating for him to have this experience and the rejection was tough.
To make matters worse, unfortunately as it was winter and a “slow period” in Canada, the job ads started to dry up and by January/February 2025 it was pretty much dead. We figured that the best idea for him was to start applying to places with a Spring start date.
Luckily, he ended up getting an interview at the luxury hotel where I was working in the Autumn, for their groundskeeping team. He was successful, and the contract started in April 2025. Fiachra has been working in this role since.
Both Working Full-Time In Canada For 1+ Year
So, we have both now been full-time employed for over 1 year as I write this. But back when we first arrived, Fiachra was unemployed for a full 6-months, whereas I was able to find work within 2 months.
This just shows that if you move to Canada, you need to be prepared for it to take a lot longer than you might expect to find a job and start working, and budget accordingly (have a decent emergency fund!).

Getting Around (Car Free!) 🚍🚏
We Decided Not To Buy A Car In Canada
Despite Canada being a very car-centric society, we decided not to get a car.
This decision has been met by disbelief by many Canadians, who gawk at how someone can live without a vehicle. Having your own transport is seen as “essential” to most, and it certainly is challenging to live without one.
However, we accepted the challenge in our stride, and we are pleased with our decision and we have no regrets.
Not having a vehicle has allowed us to save a considerable amount of money, we have one less thing to worry about (always a plus), and there are ways we can get by without one.
Before arriving in Canada, we spent more than 3 years LIVING in a vehicle (our 1994 Nissan Caravan campervan in New Zealand) so living without one for a while was a nice break.
Getting Around By Public Transport
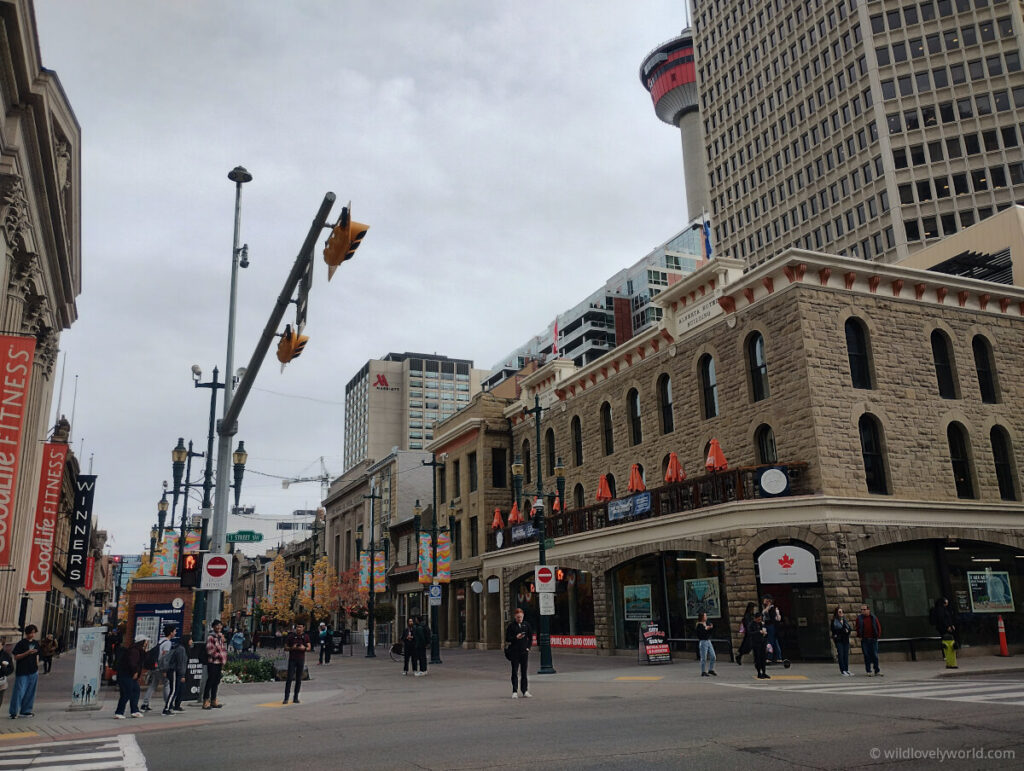
To get around, we have been relying on public transport and Ubers/Lyfts when required. Luckily, the areas we have been living in (Calgary, Alberta for a short time when we arrived and then in Waterloo Region, Ontario) have public transport systems, including bus and tram. The networks could certainly be more efficient, but we are thankful we have them available at all.
Now we have jobs and are commuting to work, Fiachra has been able to take a bus to his workplace and it takes around 30 minutes, with no changes required (to drive it would take 10 minutes).
Unfortunately, my workplace is located a fair distance away and although there is a public bus between my accommodation and workplace, it would take over 2 hours by bus and require 3 changes. So, I have been taking Ubers/Lyfts to work everyday, which is a 20 minute drive along the highway and costs between CAD $15-25 each way. Thankfully, I work hybrid and only have to travel into the office 3 days per week, so it isn’t an expense I need to make everyday.
Weekend Trips Using Trains/Buses & Car Rentals
On our days off, we have been utilising the local public transit network again to visit local attractions. For weekend trips and travel further afield, we have been using the GO train and bus network to make trips to Toronto and Niagara Falls.
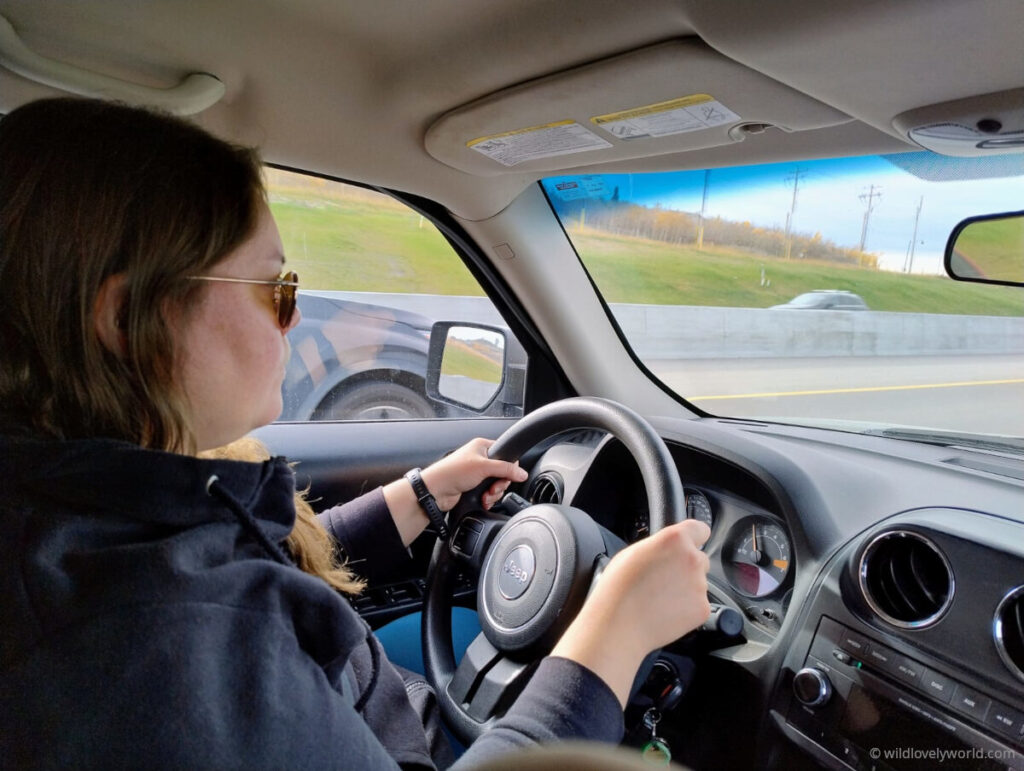
For locations inaccessible by public transport, which is pretty much anywhere north, we have been using a rental car service (Enterprise) to hire a vehicle. The cost to rent is not bad, around $50 per day with the collision damage waiver included, for a compact SUV.
Having my Canadian drivers licence makes the process to rent a car very easy. We have made trips to Elora, Tobermorey/Bruce Peninsula/Saugeen Beach, Niagra-on-the-Lake, Pinery Provincipal Park, and Collingwood/Blue Mountain.
Final Thoughts On Our IEC Arrival Experience
Me and my husband Fiachra arrived in Canada on our International Experience Canada Work Permits in October 2024.
Overall, our IEC arrival experience went very smoothly.
We had no issues with our flights, and our immigration process was relatively quick. We were prepared with all the documentation required, even though it was not inspected by the officers.
We swapped our POE Letter for our Work Permits that are valid for 2 years and we can live/work anywhere in Canada.
Having Housesitting lined up for our arrival helped us to save a lot of money on accommodation. A long-term housesit gave us peace of mind we would have a warm bed and a roof over our heads for a while!
IEC Arrival Experience Challenges
My experience of applying for my driving licence and health card have shown me that official bureaucracy can take a long time in Canada. Almost everything needs to be sent via Canada Post and can take several weeks to receive. Therefore, a stable mailing address is essential to ensure you’ll be able to apply for and receive official documents.
Applying for a bank account was easy, but unfortunately it took us a lot longer than anticipated to receive credit cards. Perhaps our experience was unusual, as I have read on forums and online groups that others didn’t experience this issue. But just in case there are any delays, it is important to have a credit card from your home country or access to funds in the meantime.
Fortunately I was able to find a job relatively quickly, but my first payslip took a few weeks to arrive in my bank account. It took Fiachra much longer to find a job, therefore its important to realise this could be a possibility for you too.
Culture Shock
I am well-travelled and have already relocated/lived in several countries/cultures, so I am used to the process by now. But moving to any country involves an adjustment/adaptation period.
I wouldn’t say I experienced any extreme culture shock in Canada, but I have certainly experienced culture shock in the past (when I moved to Japan for example)!
Culture shock is very real and could be something you experience when moving to Canada.
It’s important to be mindful of culture shock and the phases you may go through (Culture Shock Stages).
In the beginning it can feel exciting (Honeymoon period), but within a few months you can start to find life very challenging (Culture shock).
Adjusting to the new culture can take several more months (Adjustment), but after 8-9 months things will start to feel better (Adaptation).
Take it day by day and understand that you will adapt and things will feel easier with time! It may take 12 months to start feeling comfortable in Canada.
Be Prepared With A Realistic Budget And Expectations
The Canadian Government requires a minimum of CAD $2500 per person to enter Canada on IEC. However this figure is incredibly small, giving expensive living costs in Canada and the unpredictability of finding employment.
I would say a minimum of CAD $10,000 (approx GBP £5000) is required, but it is recommended to save as much as possible before arriving in Canada on IEC.
Take It Easy & Remember To Have Fun!
It’s important to keep in mind that there is no need to rush all of the things on your IEC arrival to do list.
Take your time when you arrive and remember to have some fun! I’m grateful we took time out to explore our new surroundings and experience life in Canada.
We also took things slow – it took us around 6 months to accomplish all of our IEC arrival experience tasks.
Remember, you have 1-2 years on IEC, so if there’s any big decisions like buying a car or relocating to a new province, you have time to think about it first.
IEC Arrival Experience – Moving To Canada From UK – Thanks For Reading!
Moving from the UK to Canada can be a daunting experience. The to-do list before/after your arrival can seem overwhelming.
Once you have successfully obtained your Port Of Entry Letter for IEC, you’ll need to arrange flights, accommodation, and travel insurance for your arrival.
Once you arrive in Canada, phone plans, bank accounts, driving licences, health cards and jobs will be required to setup for your new life in Canada.
By sharing my arrival experience my wish is that you will have a better idea of what to expect when moving to Canada on an IEC work permit, to help the process feel a little less daunting.
Best of luck for your preparation and arrival on International Experience Canada! – Lauren x
- Discover all my Canada blog posts 🍁
Did you find this article useful? Let me know in the comments or join me on X, Threads, Facebook, Pinterest and Instagram.
If you enjoyed this post, share it with a friend! 💌
Join my Facebook Group WildLovelyWanderers!
Say thanks and send me a virtual coffee on Ko-Fi!☕
Adventure in your inbox! – Join my mailing list (newsletter launching soon!) 🌏:
Lauren | Wild Lovely World
Lauren is a travel writer from the U.K., specialising in travelling on a budget as a solo female and in a couple. She moved to Australia solo at age 19 and has since lived in 7 different countries around the world, including teaching English in Japan, living in a campervan in New Zealand and hiking all across Scotland. Her style is travelling slow and she is an expert on moving abroad and long-term travel. She’s on a mission to inspire adventure and show you how to travel for longer, for cheaper and have more authentic travel experiences.

Related Articles